How to take a Screenshot on multiple devices
Have you ever wanted to quickly capture something on your screen and share it with someone? Or perhaps you’ve wanted to capture a screenshot of a website or application to document a bug. Whatever your reason, screenshots are a powerful tool that can help you capture and share information quickly. In this article, we’ll provide a step-by-step guide for how to take a screenshot on different devices, as well as tips for taking better screenshots.
What is a Screenshot?
A screenshot, also known as a screen capture or screen grab, is an image of the contents of a computer or mobile device’s screen. Screenshots are typically used to document or share something that’s happening on the screen, such as a bug or error message. They’re also useful for quickly sharing information, such as directions or website links, with friends or colleagues.
When you take a screenshot, the image is usually saved in your device’s Photos, Pictures, or Documents folder. You can then share the image with others via email, messaging apps, or social media.
Benefits of Taking Screenshots
Taking screenshots can provide several benefits. For starters, they’re a quick and easy way to capture and share information. Whether you’re trying to document a bug or quickly share a website link with someone, taking a screenshot is a fast and efficient way to do so.
Screenshots can also help you troubleshoot problems with your device. For example, if you’re experiencing an error message, taking a screenshot can help you provide more detailed information to customer support or technical support staff. They can then use the screenshot to investigate and troubleshoot the issue.
Finally, screenshots can be used as a form of documentation. For example, if you’re working on a project that requires you to track and document your progress, taking screenshots of each step can help you keep track of your work.
Screenshot Use Cases
Screenshots are a versatile tool that can be used for a variety of applications. Here are some of the most common use cases for screenshots:
- Documenting a bug or error message
- Recording progress on a project
- Sharing a website link or directions
- Illustrating a concept
- Capturing text from an image
- Capturing images from a video
- Creating an image for a presentation

How to take a Screenshot on Android
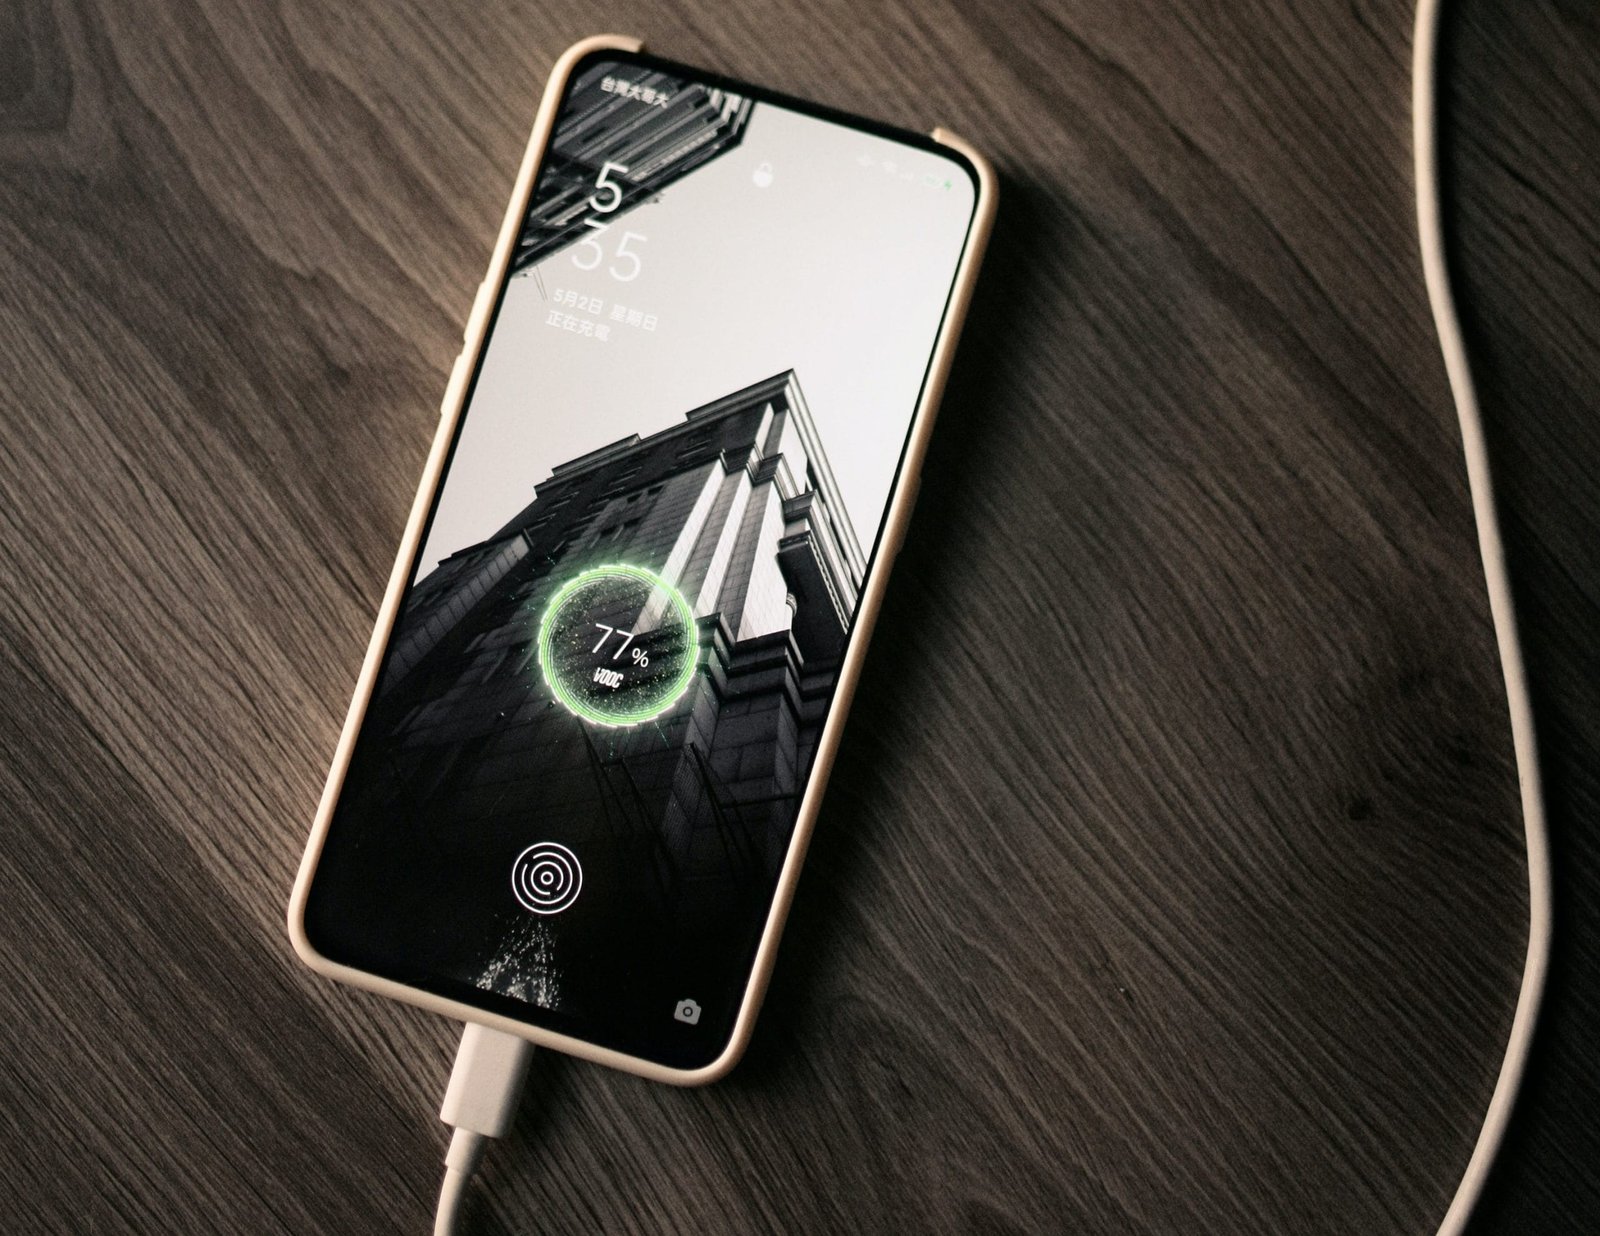
Taking a screenshot on an Android device is simple and straightforward. To take a screenshot of what you want to capture, press and hold the Power and Volume Down buttons at the same time. Once you hear a shutter sound and see a screen flash, the screenshot has been captured. You can find the screenshot in your device’s Photos or Pictures folder. This is the standard for android phones. Manufacturers may add additional ways to screenshot android phones, but by default, this is backed into the OS.
How to take a Screenshot on iPhone
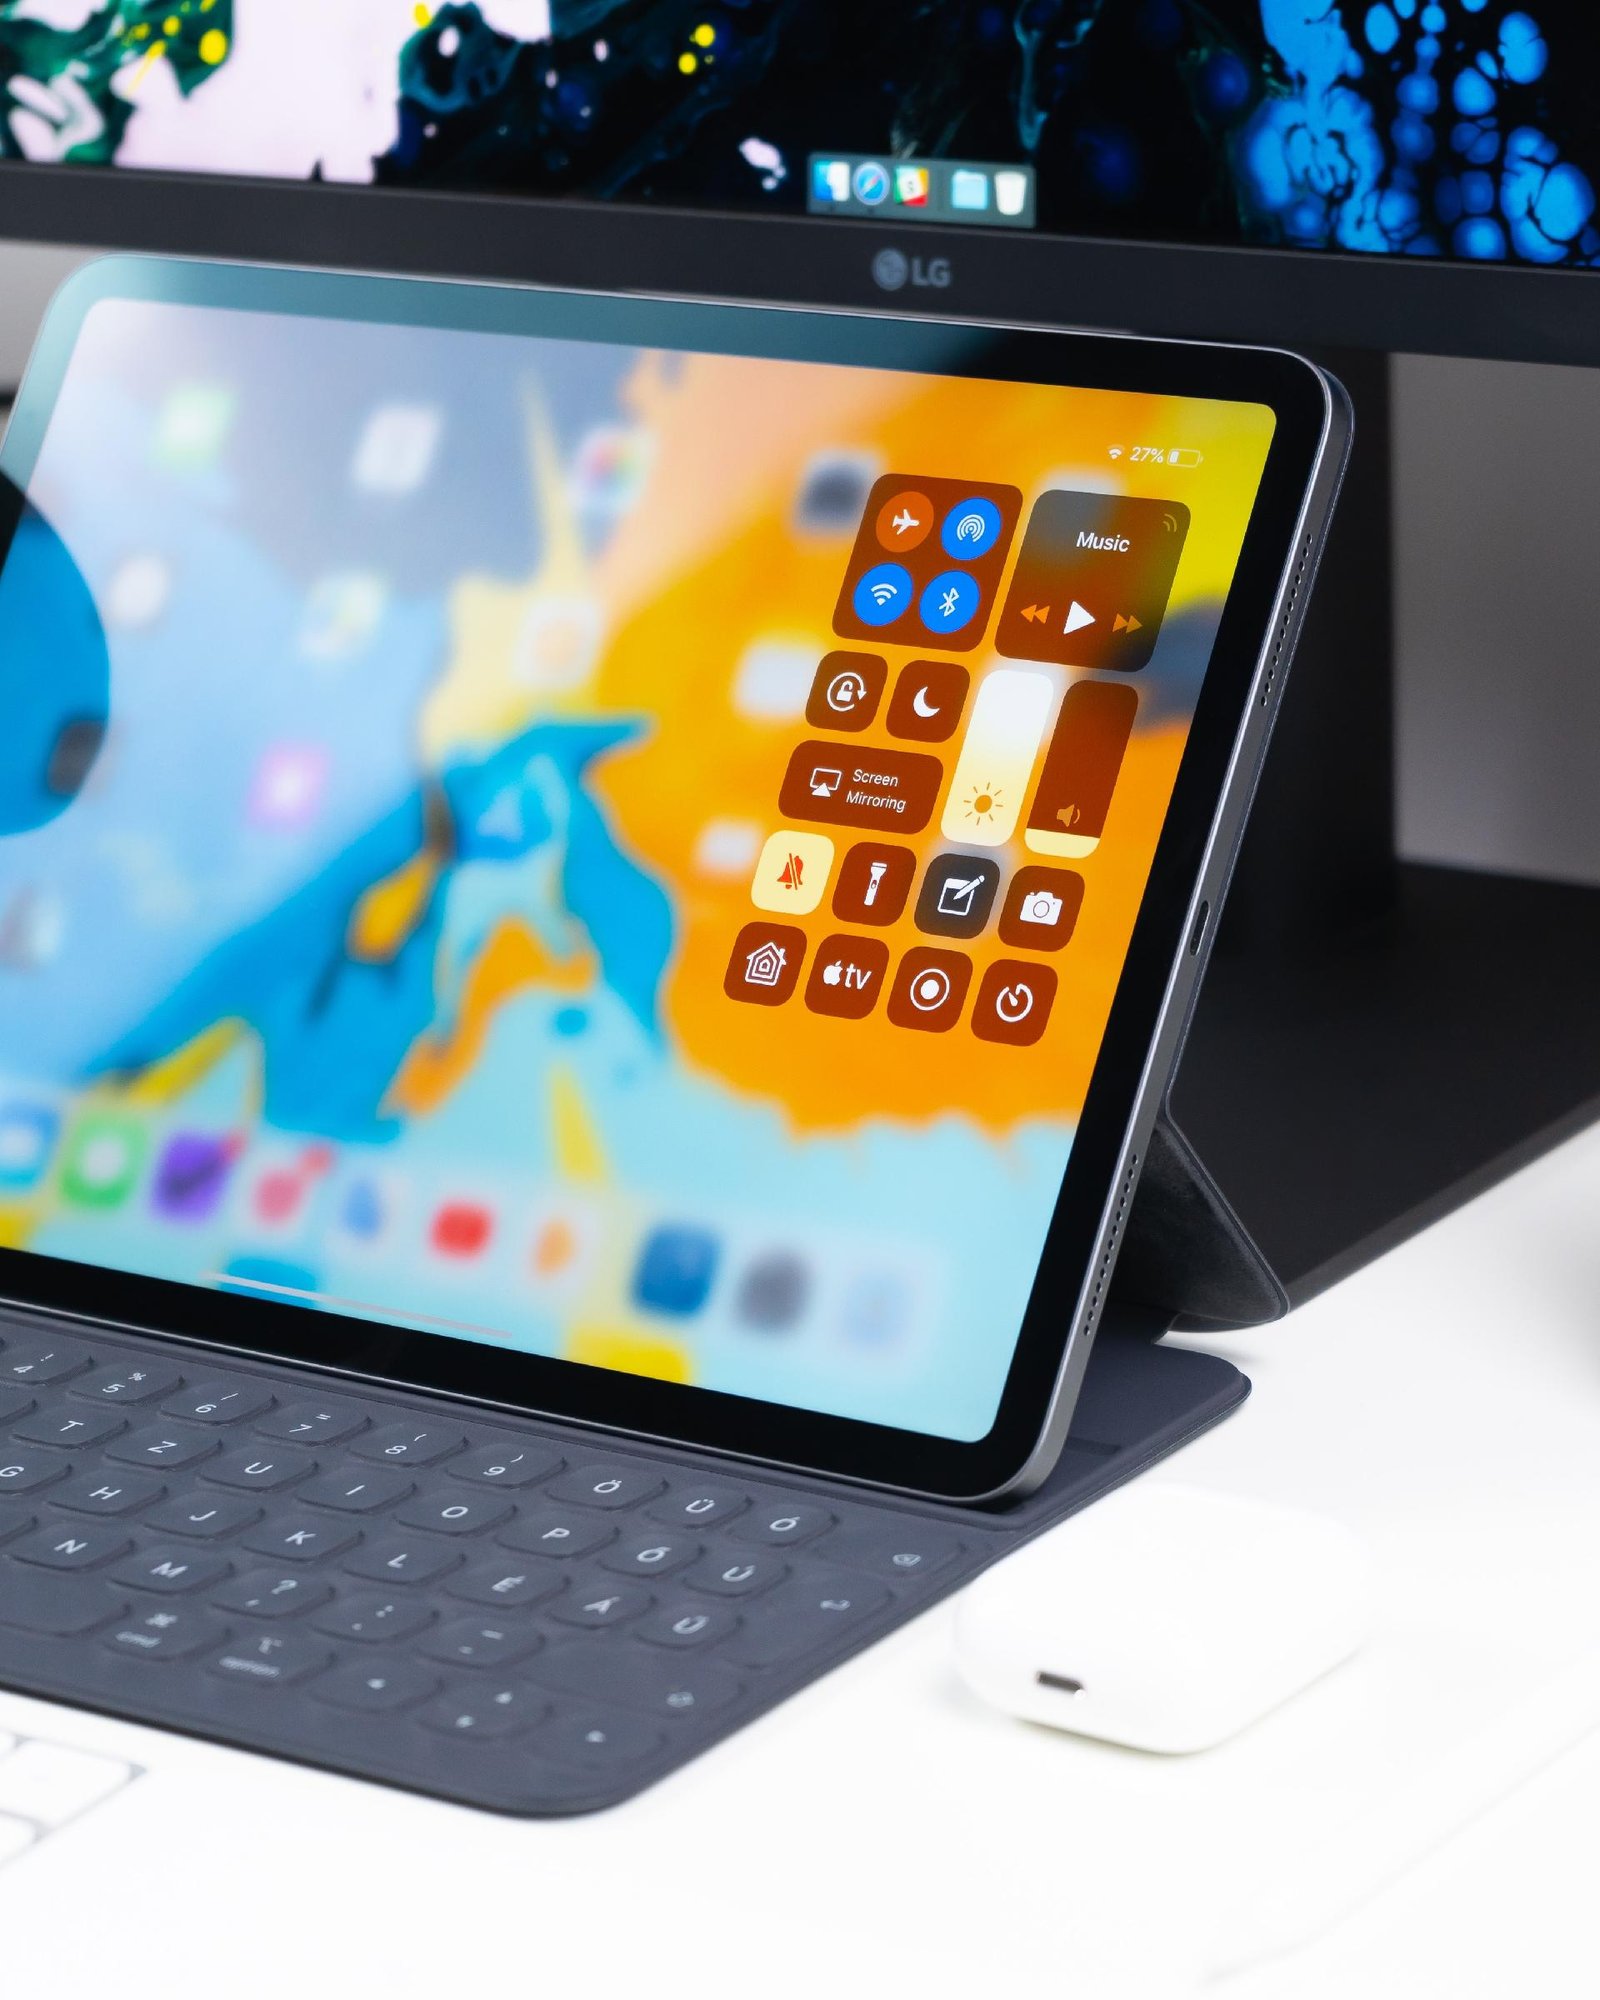
Taking a screenshot on an iPhone is just as easy as taking a screenshot on an Android device. Press and hold the side/power button and volume up button at the same time. Tap the screenshot in the lower-left corner, then tap Done. You have the choice to Save to Files, Save to Photos or Delete the screenshot in your device’s Photos or Pictures folder. On older iPhones, the process remains the same except for replacing the side/power button with the circular Home button. These directions are identical for iPads as well.

How to take a Screenshot on Windows
Taking a screenshot on PC with Windows 11 is a little different than taking a screenshot on a mobile device. To take a screenshot, press the Print Screen (PrtScn) button on your keyboard. This will capture a picture of your entire screen. You can then paste the screenshot into an image editor (such as Paint) and save it. You can also press the Alt + Print Screen (PrtScn) keys to capture a picture of just the active window.

How to take Screenshots on Mac
Taking a screenshot on a Mac is similar to taking a screenshot on Windows 11. Press the Command + Shift + 3 keys at the same time. This will capture a picture of your entire screen. You can then save the screenshot to your device’s Documents or Pictures folder. You can also press the Command + Shift + 4 keys to capture a picture of just the active window.

How to take a Screenshot on a Chromebook
Taking a screenshot on a Chromebook is similar to taking a screenshot on a Mac. Press the Ctrl + Show Windows keys at the same time. This will capture a picture of your entire screen. You can then save the screenshot to your device’s Downloads folder. You can also press the Ctrl + Shift + Show Windows keys to capture a picture of just the active window.
Tips for taking Better Screenshots
Now that you know how to take a screenshot on different devices, here are some tips for taking better screenshots:
- Use software or apps to take better screenshots. There are several apps and software programs available that can help you take better screenshots. For example, Snagit and PicPick are popular screenshot software programs that offer features such as image editing, annotation, and sharing.
- Use hotkeys to take screenshots quickly. Most devices offer hotkeys that allow you to quickly take a screenshot without having to use multiple buttons. For example, on Windows 11, you can press the Windows + Print Screen (PrtScn) keys to take a screenshot quickly.
- Use annotation tools to highlight important details. Many screenshot software programs and apps offer annotation tools that allow you to highlight important details in your screenshot. This can be useful for quickly drawing attention to a particular element in the image.
How to Share Your Screenshots
Once you’ve taken a screenshot, you can share it with others via email, messaging apps, or social media. If you’re using a screenshot software program or app, you may be able to share the screenshot directly from the program or app. Otherwise, you can save the screenshot to your device’s Photos, Pictures, or Documents folder and then share it from there.
Conclusion
Screenshots are a powerful tool that can help you capture and share information quickly. In this article, we’ve provided a step-by-step guide for how to take a screenshot on different devices, as well as tips for taking better screenshots. Now that you know how to take and share screenshots, you can use them to document bugs, share website links, and more. So don’t wait—unlock the power of screenshots and start using them today!
If you have any questions or comments, we would love to hear them! Please leave a comment below or reach out to us on social media.
Ready to unlock the power of screenshots? Download Snagit today and start taking better screenshots!


